| Click here to view or download a PDF file of this guide | Click here to view a video example of this guide |
1. Ensure you are logged into the Staff Message Centre.
2. Click the ‘Announcement Manager’ panel list item in the Message Zone on the Dashboard.
3. Click the ‘+New’ icon on the right-hand side. The ‘New Announcement’ page will open. The layout of this page has been slightly updated, with all options on one scrollable page.
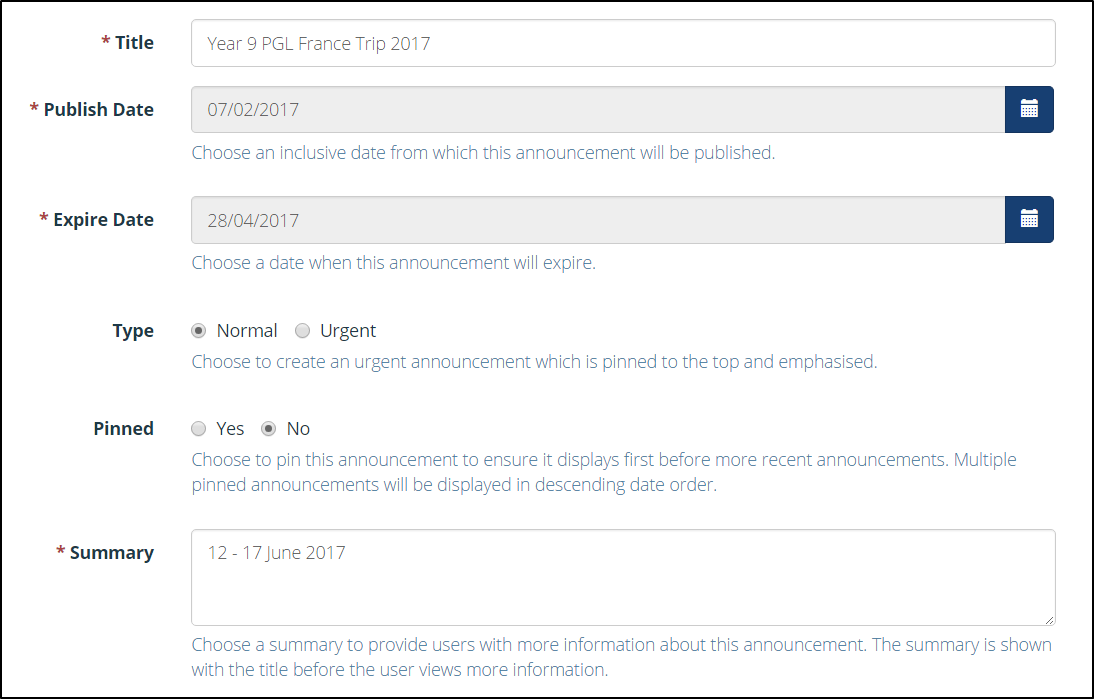
The ‘New Announcement’ page
4. In the ‘Basic’ section, enter/select the following:
a. The Announcement’s title.
b. The date the Announcement should be published.
c. The date the Announcement should expire (no longer display)
d. Select whether the Announcement should be ‘pinned’ to the Announcement Board, ensuring it displays constantly. We recommend ‘pinning’ a maximum of two Announcements, as only four can be actively displayed at a time.
e. Enter a brief summary of the Announcement, providing users with additional information regarding the message.
5. In the ‘Message’ field, type your Announcement message. Use the toolbar to edit the format of your text, details of what each icon will do will display when you hover your mouse over the icon.
6. Click the ‘Insert/Edit Link’ icon to insert a hyperlink into your Announcement. Type , or copy and paste the website’s url into the ‘Url’ field, and edit the ‘Text’ field to change the appearance of the link’s wording. Use the drop-down menu in the ‘Target’ field to edit how the link opens, either in the same tab, or a new tab.
7. Use the ‘Image’ section to upload a saved image to your Announcement. This will appear above the text when the Announcement is viewed. The image will be automatically scaled to fit the size of the Announcement’s modal window.
8. Scroll down to the ‘Audience’ section. Select which Message Centre you want the Announcement to display in, and select whether it should display publically, privately, or both.
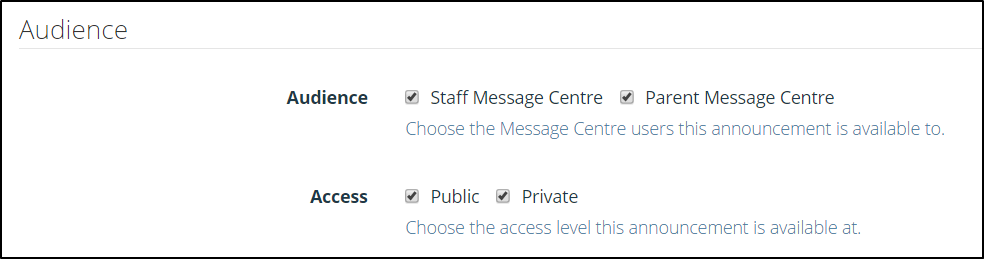
The ‘Audience’ section
9. Once happy with the text and layout of your Announcement, and audience has been decided, click ‘Submit’ to save your Announcement, it will automatically be published on your set ‘Publish Date’, and will display until your chosen ‘Expiry Date’.
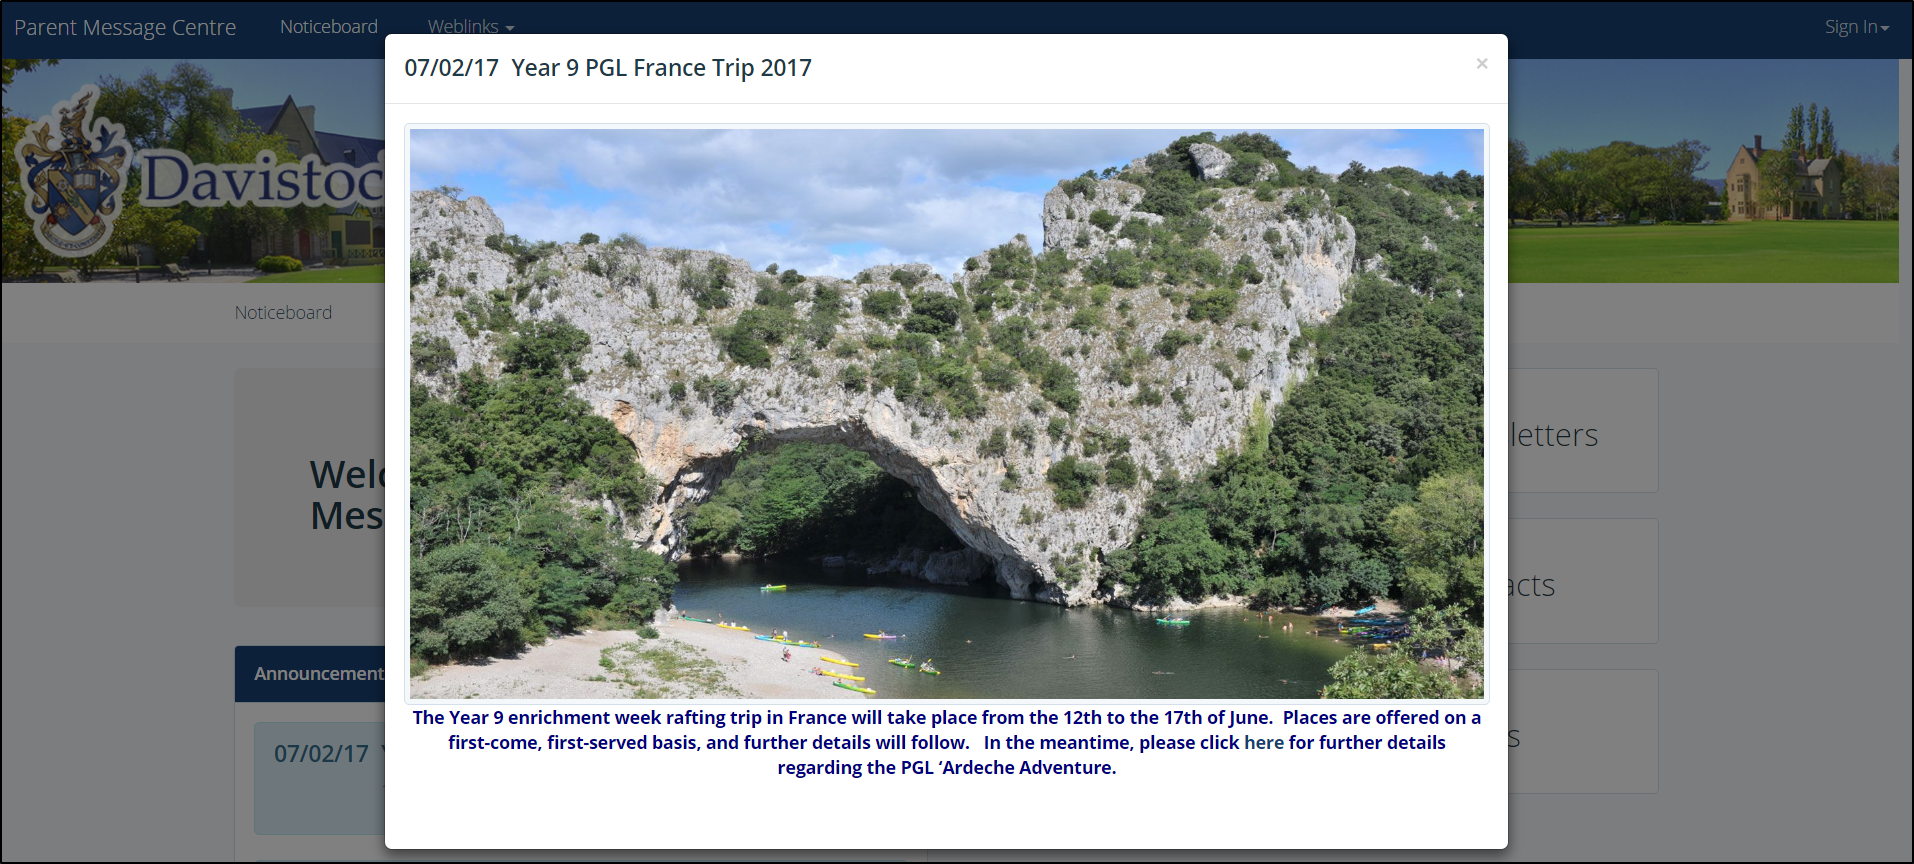
A published Announcement


