| Click here to view or download a PDF file of this guide |
The Email Enhance package is designed to help you get more out of email with additional email customisation tools.
1. Log into ClarionCall
2. Select the group you wish to message.
3. Click ‘Send an Email’.
Create and save layout templates
Use the ‘Table’ tool to create layouts and sections to insert photos and corresponding text, organising your emails in an easy to read and professional looking manner.
1. Click the ‘Tables’ tool and select the number of rows and columns you require.
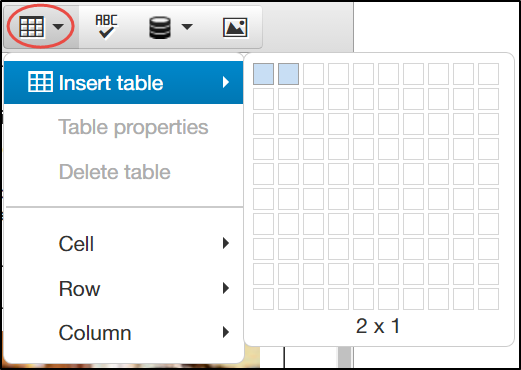 The ‘Tables’ drop-down
2. Once correctly formatted and sized, add your text and insert photos/pictures as required. To add pictures to your email:
a. Click the ‘Photo’ icon.
b. Copy a link into the ‘Source’ field, or click the ‘File’ button, and upload a photo file. Click ‘Insert’ after uploading.
c. Enter an image description, and enter the dimensions you wish the photo to display at.
d. Use the ‘Advanced’ tab to add border and style details.
e. Click ‘OK’ after making all required changes.
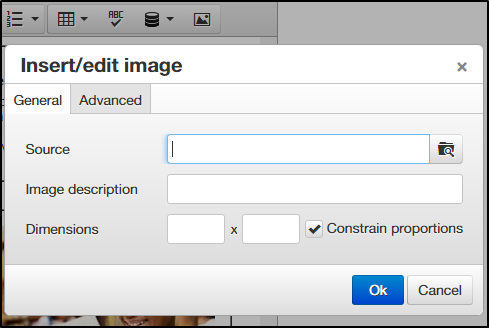 The ‘Insert Image’ modal window’
3. Once satisfied with your layout, scroll down and click the ‘Save Layout’ button. Enter the layout’s title, and decide whether to save it as a ‘Master Layout’ or not. Click ‘Save’ after entering its title.
Saved layouts can be recalled by clicking the ‘Load Layout’ button at the bottom of the ‘Send an Email’ page. Delete any email layouts you no longer need by clicking Admin>Manage Layouts. A list of all email layouts will display, click the ‘Delete’ button for the appropriate layout to remove it.
Personalisation
Personalise your emails using the ‘Data Field’ option, which draws information from your MIS database, automatically inserting recipient information to the body of your email.
1. Click the ‘Add Data Field’ button.
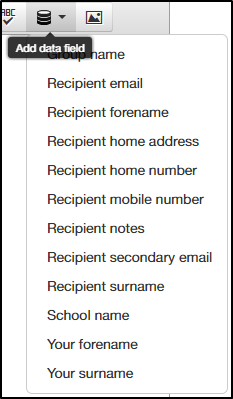 The ‘Add Data Field’ drop-down
2. Select the relevant data option (as an example, ‘Recipient Forename’ will display as ‘$memberForename’ in your email, but will display as the recipients forename when sent).
Saving a Draft
Working in a busy office can mean that you can get interrupted when creating your email, saving an email as a draft means that everything you have created is preserved, and can be recalled at a later date.
1. Create your email as normal, and click the ‘Save Draft’ button at the bottom of the ‘Send an Email’ page.
2. To recall a saved email draft, click the ‘Retrieve Draft’ button. This will load a modal window containing a list of previously saved draft emails. These are organised by date and time, with the most recent save displaying at the top of the drop-down list. Select the appropriate email draft, and click ‘Retrieve’ to load it.
Preview
Preview your emails exactly as they will be received before sending to ensure they display exactly as intended.
1. Click the ‘Preview’ button at the bottom of the ‘Send an Email’ page.
2. A modal window will load with a preview example of your email. Click ‘Close’ to close the modal window and continue editing your email. This will automatically save a draft which can be loaded at a later date using the ‘Retrieve Draft’ button.
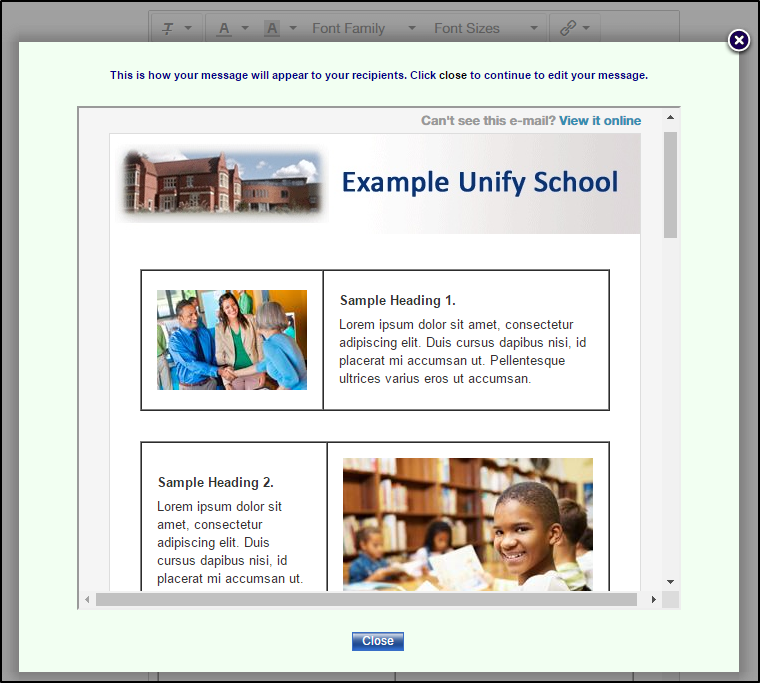 The ‘Preview’ modal window


