It is possible to perform a manual synchronisation between your data and ClarionCall, thereby updating the system with your latest parent and pupil data. Note: you cannot synchronise staff data through the system. To maintain staff data see 4.18 Edit Staff List (Administrator Only).
To synchronise your directory, perform the following:
1. Create a .csv file, which contains your parent and pupil data. A .csv file can be created in Microsoft Excel as a normal spreadsheet and then saved as a .csv (Comma Delimited) file. The parent and pupil data must follow a specified format, which is individual to each School. To find your individual School’s format:
a. Go to the ‘Admin’ screen.
b. Click the “Synchronise Directory” button.
c. The system will display the ‘Synchronise School Directory’ screen. Your School’s synchronisation format will appear at the top of the screen.
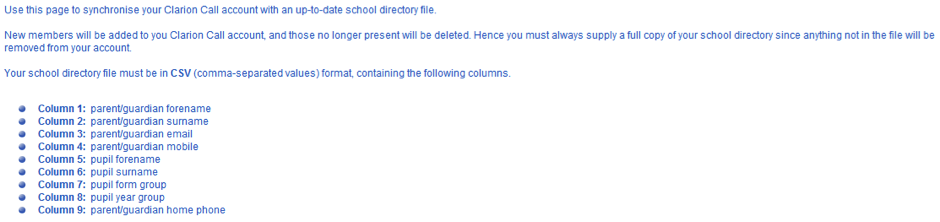
d. Ensure your parent and pupil data adheres to this format (where column 1 is equal to column A, column 2 is equal to column B etc.), otherwise synchronisation will not be successful. Note: if your school is not setup to synchronise automatically and you have parent and pupil data in a different format, please contact to request modification of your system’s formatting.
2. Once your School’s data has been created in a formatted .csv file, go to the ‘Admin’ screen
3. Click the “Synchronise Directory” button.
4. There are two options within the ‘Synchronise Directory’ screen; test synchronisation and live synchronisation.
- A test synchronisation will produce an on-screen report of the changes that would be made if a live synchronisation was performed. A test synchronisation will not upload data to your system, but is a useful mechanism to discover any issues with your data and to understand what would occur during an upload.
- A live synchronisation will upload data onto your system. It is recommended that you perform a test synchronisation and once satisfied with the results, complete a live synchronisation.
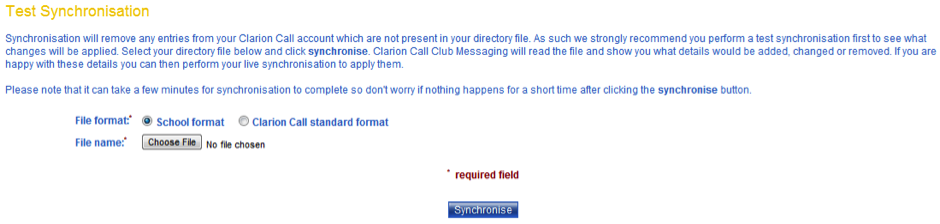
5. To perform a test synchronisation, complete the following:
a. Under the ‘Test Synchronisation’ section, click the “Choose File” button. Note: do not change the “File format” option, this should be left as “School format”.
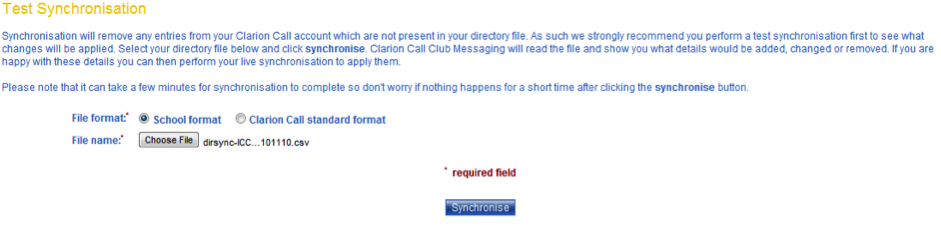
b. Navigate to the .csv file created in step 1 and click “Open”. The file name will appear next to the “Choose File” button.
![]()
c. Click “Synchronise” to produce the on-screen report.
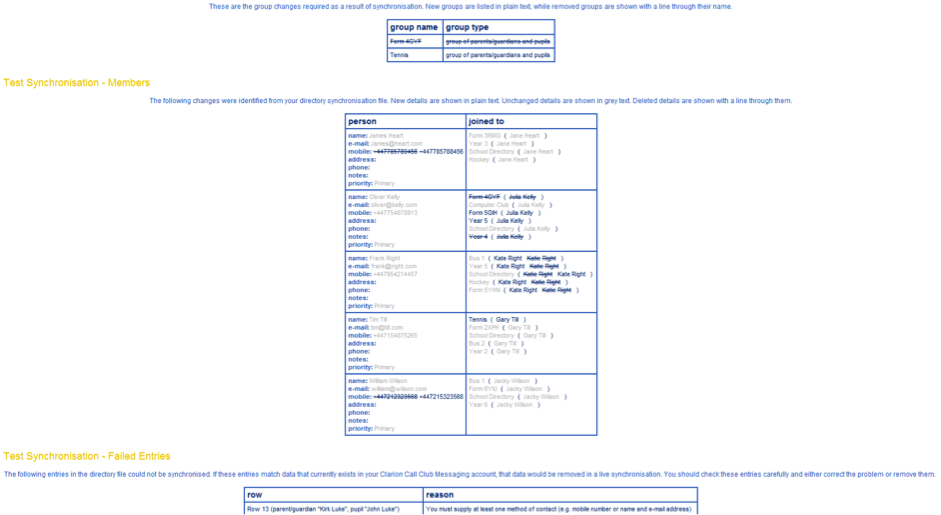
d. The system will then display an on-screen report of the changes that would be made if a live synchronisation is completed with the same data. The report consists of:
- Group Changes – any additional groups added or any groups removed during synchronisation.
- Members – details regarding any modifications to current members (parents, pupils, guardians etc.) or any additional members added during synchronisation.
- Failed Entries – any entries that were not uploaded due to an error. A descriptive reason is provided.
6. Once you have completed a test synchronisation and are satisfied with the produced results, you can perform a live synchronisation by:
a. Under the ‘Live Synchronisation’ section, click the “Choose File” button. Note: do not change the “File format” option, this should be left as “School format”.
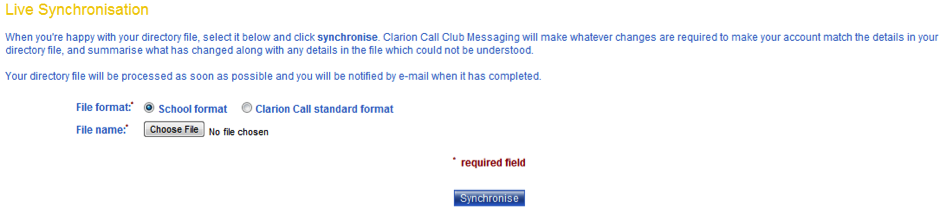
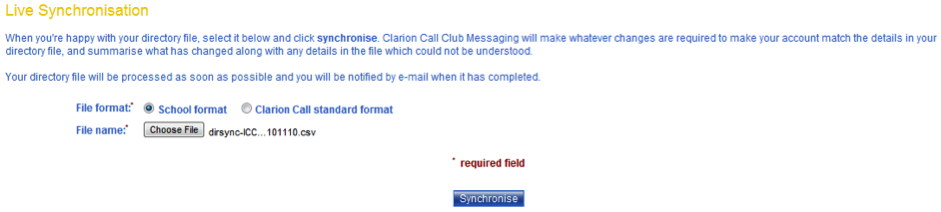
b. Navigate to the .csv file created in step 1 and click “Open”. The file name will appear next to the “Choose File” button.
c. Click “Synchronise” to complete the live synchronisation process.
d. The system will display a confirmation screen and the specified School System Admin e-mail address (see 4.19 Edit School Details (Administrator Only)) will receive an e-mail confirmation once the synchronisation process has completed. Click “Finish”.


