Using the E-mail editor, a comprehensive guide.
The e-mail editor comes packed with loads of features which enable you to design professional and creative e-mails to send to your community.
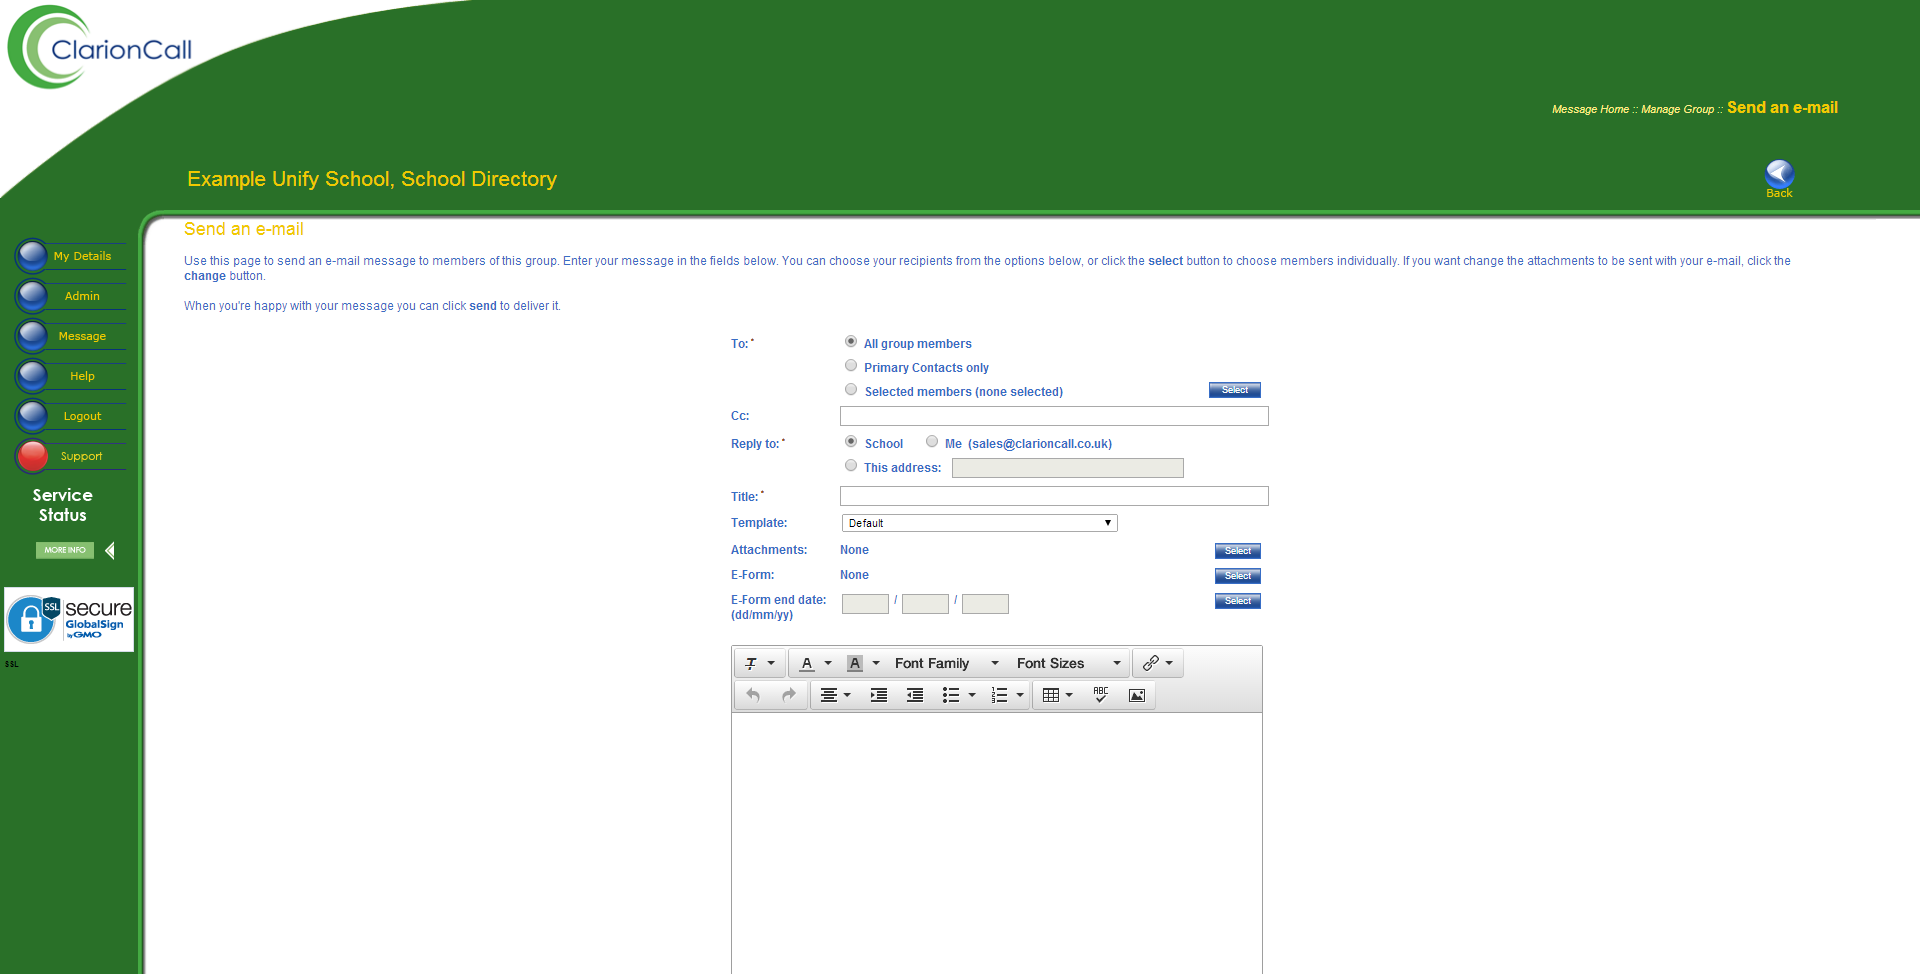
Once you have setup the basics for sending your e-mail such as recipients, reply to and subject now it's time to start creating.
The e-mail editor
For a more comprehensive guide on how to use the e-mail editor please click here.
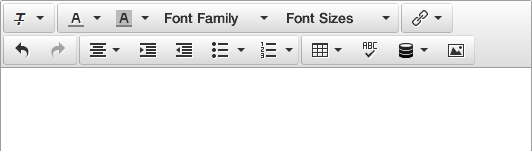
You can Copy and Paste from existing Word or other documents by pressing the CTRL button and the letter V. Please do not right-click and select ‘paste’.
To send attachments, click on the ‘link’ button and then 'insert link'. You can then either enter a URL or click on the browse button to open the File Manager and browse for your file as required file(s) and click ‘add’. A more comprehensive guide to using the File Manager can be found here. You can add attachments up to a limit of 10Mb per file. When you have finished adding attachments, click on ‘ok’ and you will be returned to your e-mail message window.
Please note, due to various restrictions on file size attachments are added as links within the e-mail itself rather than an actual attachment.
File types accepted are gif, jpg, png, jpeg, pdf, doc, docx, xlsx, xls, txt, rtf and csv.
Once you have composed your message, you have various sending options. If you would like to send a copy of your message to a third party, enter your required e-mail address into the ‘cc:’ box. You can enter more than one address by separating them with a semi-colon (;).
Please note that ClarionCall will automatically send a copy of your e-mail to both your e-mail address and to the school administrator’s (as entered on the edit school page).
You can choose who you want to send your message to using the check buttons at the top of your e-mail.
Selecting ‘All group members’ and clicking ‘send’ will send your message to all members of your group. Alternatively, you can select ‘Primary contacts only’ and click ‘send’ to send to the Primary Contact parents in your group only.
You can also check the button ‘Selected Members’ and click on ‘select’ to choose specific recipients for your e-mail.
You will see a list of pupils with their parents’ names in brackets. You can select the recipients of your messages using the check boxes.
There are also various drop-down menus which will allow you to further narrow your choice.
You can choose to filter your group by any other existing group—for example, you could view only the Year 5 pupils in your ski trip group.
You can choose to view only the Primary contacts or only the Secondary contacts.
If you do not use the Priority system, this drop-down will not effect your recipient choice.
You can also choose to view a list of Members which will display the Parents in that Group as well as any Staff or Extended Community members who are also in the Group but do not have children at the school.
You can select all members or check the tickboxes to select your recipients and then click on ‘done’ to return to the message screen.
You will see the number of recipients selected and you should click on ‘send’ to e-mail your message to these parents. If you need to edit your selection, simply click on ‘select’ again.
For a more comprehensive guide on how to send feature rich e-mails please click here.