| Click here to view or download a PDF file of this guide. |
Both the Staff and Parent Message Centre branding can be updated at any time to reflect your school’s branding and marketing materials. Ensuring this consistency across all platforms makes any school systems easy for parents to recognise.
In order to update the Message Centre branding, you must have ‘Super Administrator’ privileges. Your account setup can be edited by any Super Administrators at your school.

1. Ensure you are logged into the Staff Message Centre.
2. Click ‘Administration’ in the top Navbar, and click ‘Branding’ in the left-hand menu.
3. Use the drop-down menu to select the Parent Message Centre, or the Staff Message Centre.
a. Details Section
i. Enter the Message Centre’s primary colour. This will set the colour of the top Navbar, the application header bars and some buttons, and will add a familiar feel to the system for users. Either enter the colour in an appropriate format (accepted formats are listed), or use the colour picker to select a colour.
ii. Use the drop-down menu to select the appropriate Font family used by your school.
b. Header Section
i. Decide whether to enable the header bar for the selected Message Centre.
ii. Select the size of the header. This sets the header size before users log in; the header reverts to size ‘small’ once logged in to preserve user experience.
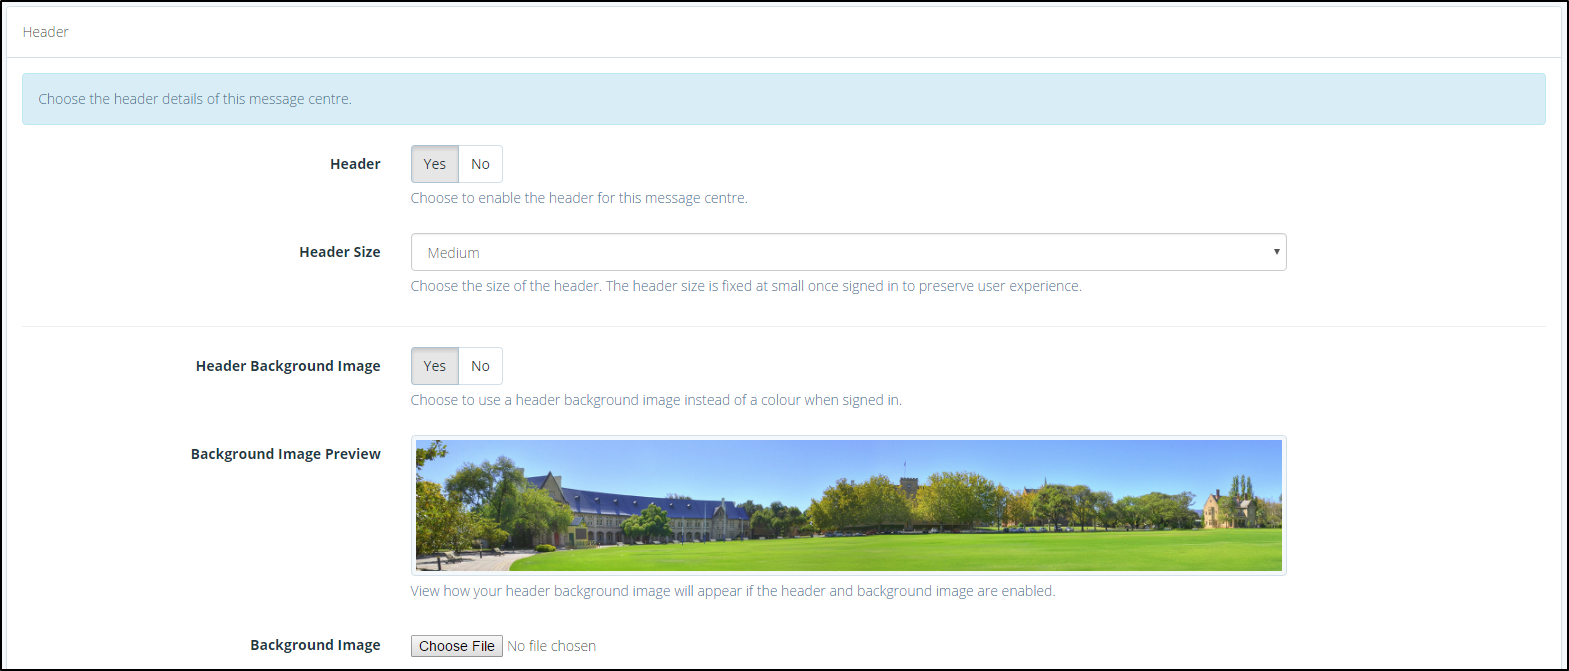
iii. The header can either be a block colour, or an image. To enable a header image upload, click ‘Yes’ in the ‘Header Background Image’ field.
iv. Select an image file to use as the Message Centre header. Recommended dimensions are listed.
v. If you have chosen to use a block colour as your header, enter the colour in an appropriate format (accepted formats are listed), or use the colour picker to select a colour.
vi. Your school’s logo can be uploaded to hover over your header colour or image. Use the ‘Logo Image’ field to select the appropriate file and upload.
vii. Your school’s logo can be aligned left, right or centre. Select the alignment using the drop-down menu.
4. Click ‘Save’ after editing any of these details.


