Creating a ClarionCall group allows you create additional groups of pupils and parents, separate to those in your MIS system. ClarionCall groups are unaffected by the synchronisation, and do not appear in your school’s MIS or database records.
ClarionCall groups are ideal if you need to create temporary groups for trips, or one-off messages to specific recipients.
1. Ensure you are logged into the Staff Message Centre.
2. Click ‘Messaging’ in the Message Zone on the Dashboard.
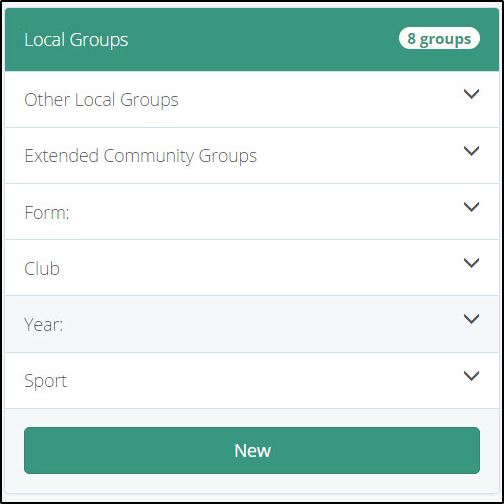
3. Click the ‘New’ button in the ‘Local Groups’ column.
4. In the ‘Details’ section, enter the group’s title, select a category from the drop-down, and enter ‘active from’ and ‘expires on’ dates.

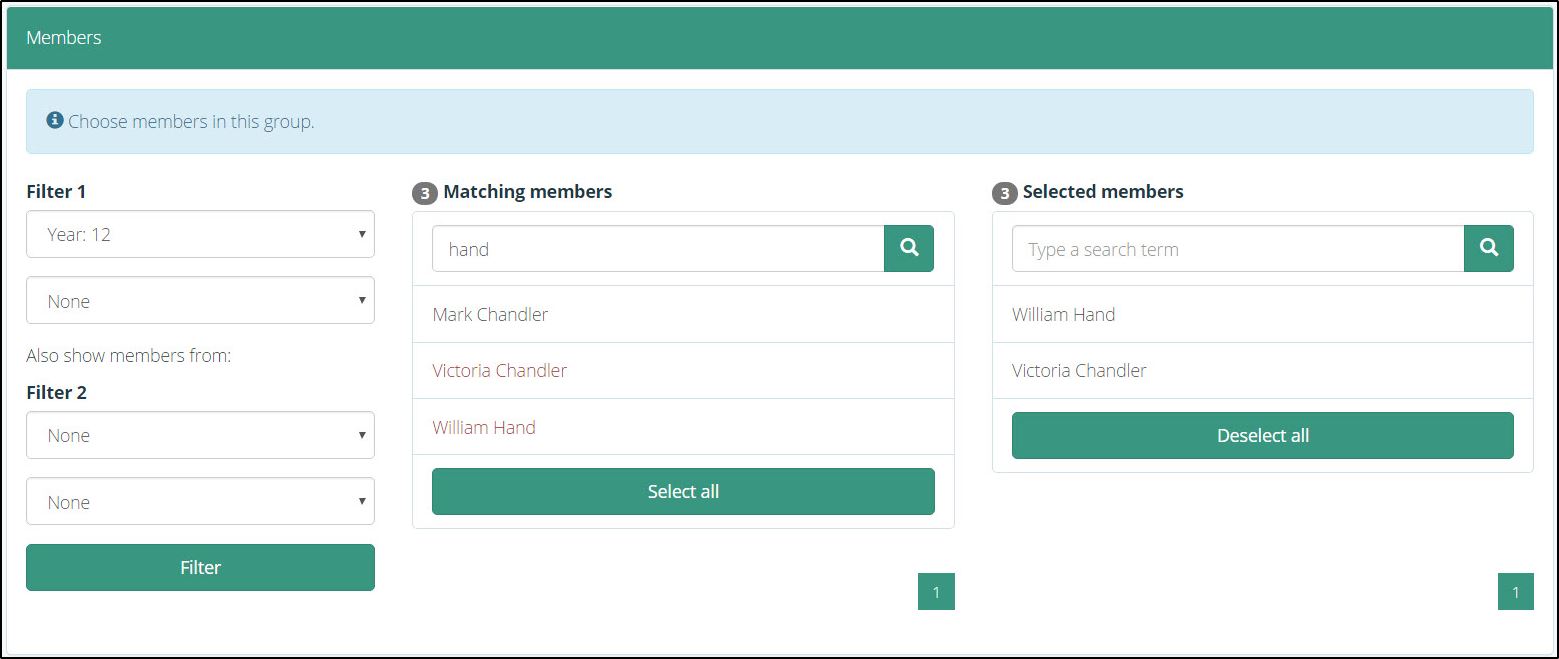
5. In the ‘Members’ section, use the filter options to load a group you wish to select members from.
a. Use the filter drop-down to select the appropriate group, and click ‘Filter’.
b. Click the members you wish to add to the group, this will move them over to ‘Selected members’. Click ‘Select all’ to add all members of the group.
c. Once the appropriate members have been selected, click ‘Submit’ to create the group.
Once created, the group will display in the ‘Local Groups’ column, assigned to the category you selected. Messages can be sent to the group once the ‘active from’ date has been reached. When the ‘expires on’ date has passed, the group will be automatically deleted. These dates can be changed in the ‘Edit Group’ page.