| Click here to view or download a PDF file of this guide | Click here to view a video walkthrough of this guide |
- Create your E-Form as normal.
- Set up the E-mail, load recipients and enter a title as normal, and load the correct E-Form.
- Above the message area the tick box option to ‘Allow Notes’ is displayed, and will be ticked as a default. Untick the box to remove this feature from your E-Form. (Once unticked and the e-mail sent, this feature cannot be turned on for responses, so must be enabled when sending).

The 'Allow Notes' option
- Send the E-mail to recipients as you usually would.
- Once recipient responses have been received, click ‘Sent Messages’ and ‘Open Details’ to view E-Form responses.
- Once the E-mail Message modal window has loaded, notes can be added to responses. To do this, click the ‘Add Notes’ icon under ‘Actions’ on the far right-hand side.
![]()
The 'Add Notes' Icon
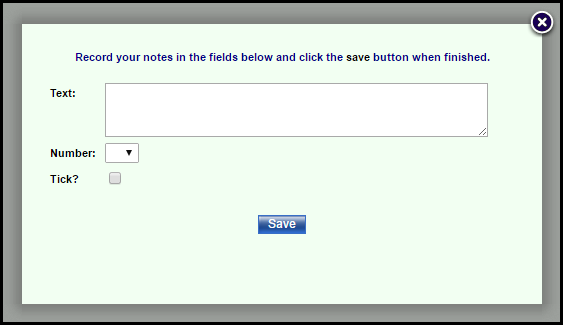
- The additional notes modal window will load.

The Additional Notes Modal Window
There are three options for additional notes:
- A comments field for text
- Assigning a number to a response
- A tick box option
- Populate these fields for each response as necessary. The fields are untitled to allow Administrators flexibility when using them.

An Additional Notes Example
The additional notes can have a variety of uses. The number field can denote which administrator read the response, or can which stage of processing a response is at. The tick box can be used to show which responses have been completed and read, or possibly if tickets have been sent out for a production. Click here to view a PDF document in a new tab offering examples of the Additional Notes fields.